Friday, 25 May 2012

Scaling an antique corset pattern

I realise I haven't posted much about making stuff for a while, so here's a little report on my other latest work, the Edwardian corset pattern which is in a book called Corsets and Crinolines by Norah Waugh. This book is a pretty standard text for corstieres and the patterns in it are easily scaled up and adapted for modern use.


The pattern in the book looks like this...


Which translates into this diagram ...


I used Ralph Pink's amazing photoshop tutorial to scale the pattern - so easy!  See HERE.  I then made the pattern up just as it was - no measuring as I only wanted to learn about the construction - how to use silk with this type of pattern and how to hide the bone channels thereby keeping the swooping lines at the front 'clean'.  So that's what I did .. and then I tried it on and by weird co-incidence,  it fit me!  The hips have a little extra space, and the bust is a teensy weensy bit small .. but to the untrained eye, I could get away with wearing this 'out'.


I adapted the pattern a little by adding some 'fins' over the hip panels to accentuate the hips but they didn't really work how I wanted them too - should have padded or stuffed them.  

So the outer layer of the corset  is double sided silk which is a bit heavier than dupion type silk - it's like the silk they make mens ties with - fused to a cotton woven fusible interfacing, and stitched together with lapped seams.

The inside is coutil stitched together the same way, and the bone channels which are cotton twill tape, are attached to the coutil layer on the inside.  The channels are placed as per the diagram above, which was pretty easy.   The boning is all 7mm flat steel with extra tough flats on the edges at the centre back.


I joined the two layers together via the front and back panels, and the binding at the top and bottom.  Also, there are three diagonal bone channels sewn through all layers at the back.


The binding and fins are made from ribbed dupion silk, inspired by ladybirds undersides.

All in all a very fascinating and insightful project.  I shall most certainly be customising this pattern in the future.


Wednesday, 23 May 2012

Corset making courses

Has anyone yet discovered how to make working holograms of oneself - in manner of Star Wars?  I need at least three.

The last few weeks have been a frenzy of activity .. there have been corsets to make ... along with Photographers and models to find ... and I'm happy to report, both have been found so I'll be doing a 'shoot' as they say, in the not too distance future.  My model has a Debbie Harry meets Gwen Stefani meets Jean Harlow look ... Inspiring much drama!

my latest - a bridal boudoir piece

I've also been teaching my socks off! There was the Introduction to Corsetry Course with 5 lovely lovely students including my first male student who was amazing.

Picnic lunch at the Sew Curvy Studio - so good a passer by asked where she could buy some!
He made a corset for his wife, and not only did it go together seamlessly (pardon the pun) but it fit her perfectly when he got home!

A Victorian style corset made with genuine Victorian fabric!
Oh .. and did I mention, he bought fabrics from the 18th and 19th century?  Gorgeous.  See more pics of the course here.

Selection of vintage fabrics from Morgan le Fay Antique Textiles

I've been teaching a weekly dressmaking course for beginners in Oxford, and also, we had the Sparklewren Masterclass at the Sew Curvy Studio - that was on Friday and was amazing!  4 keen beans learning about all manner of embellishments, we made a sampler each with layered lace, beads, crystals, feathers and more.  The day was full of sparkle in every way.  You can read a review here, and see more pics here.


And now the summer seems to have reached us (touch wood!) and I want to make a summer dress ... I have a collection of Collette patterns, but which to choose?  A simple one I think.  Anyone got a hologram going spare?  Must be able to sew.

Sunday, 6 May 2012

The Sparklewren boutique

A corset making friend of mine is planning something exceptionally exciting and I really want her to succeed.

Jenni, the creative genius behind Sparklewren is one of the most - if not the most - talented and innovative corsetieres in the UK today and I am utterly convinced that one day her name will be whispered in the same breath as Mr Pearl in the highest circles of couture - she has already dressed  Immodesty Blaize the Queen of British Showgirls.

Immodesty Blaize wearing a Sparklewren Corset
The project is ambitious - a temporary pop-up boutique in a Victorian shopping arcade in the centre of Birmingham, with 'living windows', a working atelier, and exclusive 'salon' evenings.  The Sparklewren Boutique will be stunning and it will raise the profile of top class corsetry,  making it much more accessible to those who may not otherwise know such a wonderful art form exists, and it will inspire other young, aspiring British designers to reach for the skies too.

Obviously, to get the project off the ground requires some finance and to this end, Jenni is raising money by crowdfunding, discounted etsy sales, and a little bit of teaching.  The deadline is 18 May - just over 2 weeks time!

I have a great deal to thank Jenni for - a list far too long to explain in this post - but it is why I want to help her raise all the money she needs for this project.   If you beleive in beauty and in art, and have a couple of spare pennies, perhaps you could help this wonderful project on it's way - every pound counts towards the total and she is currently a little behind target.  It really would be a crying shame if her amazing ideas and inspirational plans were to be thwarted by lack of funding.

For more details of the project along with details on how you can help realise a dream,  please click the link above.
Another amazing Sparklewren creation

Tuesday, 1 May 2012

Edwardian corset - finished

I've just done an interview with Sew Magazine about 'vintage' corset patterns.  In the interview, I explained that a good way to learn all sorts of things about corsetry techniques, and fit, is to scale up antique patterns and make them up.


Where does one find these patterns?  In books.  Namely, Corsets and Crinolines by Norah Waugh (and others), which is where this one was.


I scaled it up according to the scale given, and hey presto .. it fitted me! Which was a surprise as usually, antique patterns need much adjustment for the modern figure.


I did make a minor adjustment to the hips, in order to include 'fins' which I realise I should have padded in order to make them stand out more.  Other than that, the pattern came together very easily.


It's made from a single layer of coutil on the inside, with boning channels sewn to the inside and the outer shell is made from double sided silk stitched together with lapped seams.


It's OK but still not the standard i'm aiming for.

Tuesday, 24 April 2012

Fan making classes

Hello all!!  Just popping my head up again from the mound of stuff I'm currently embroiled in.  Details of which will no doubt unfurl as the year goes on, but for now, some are top secret, which of course means that they are ridiculously exciting!


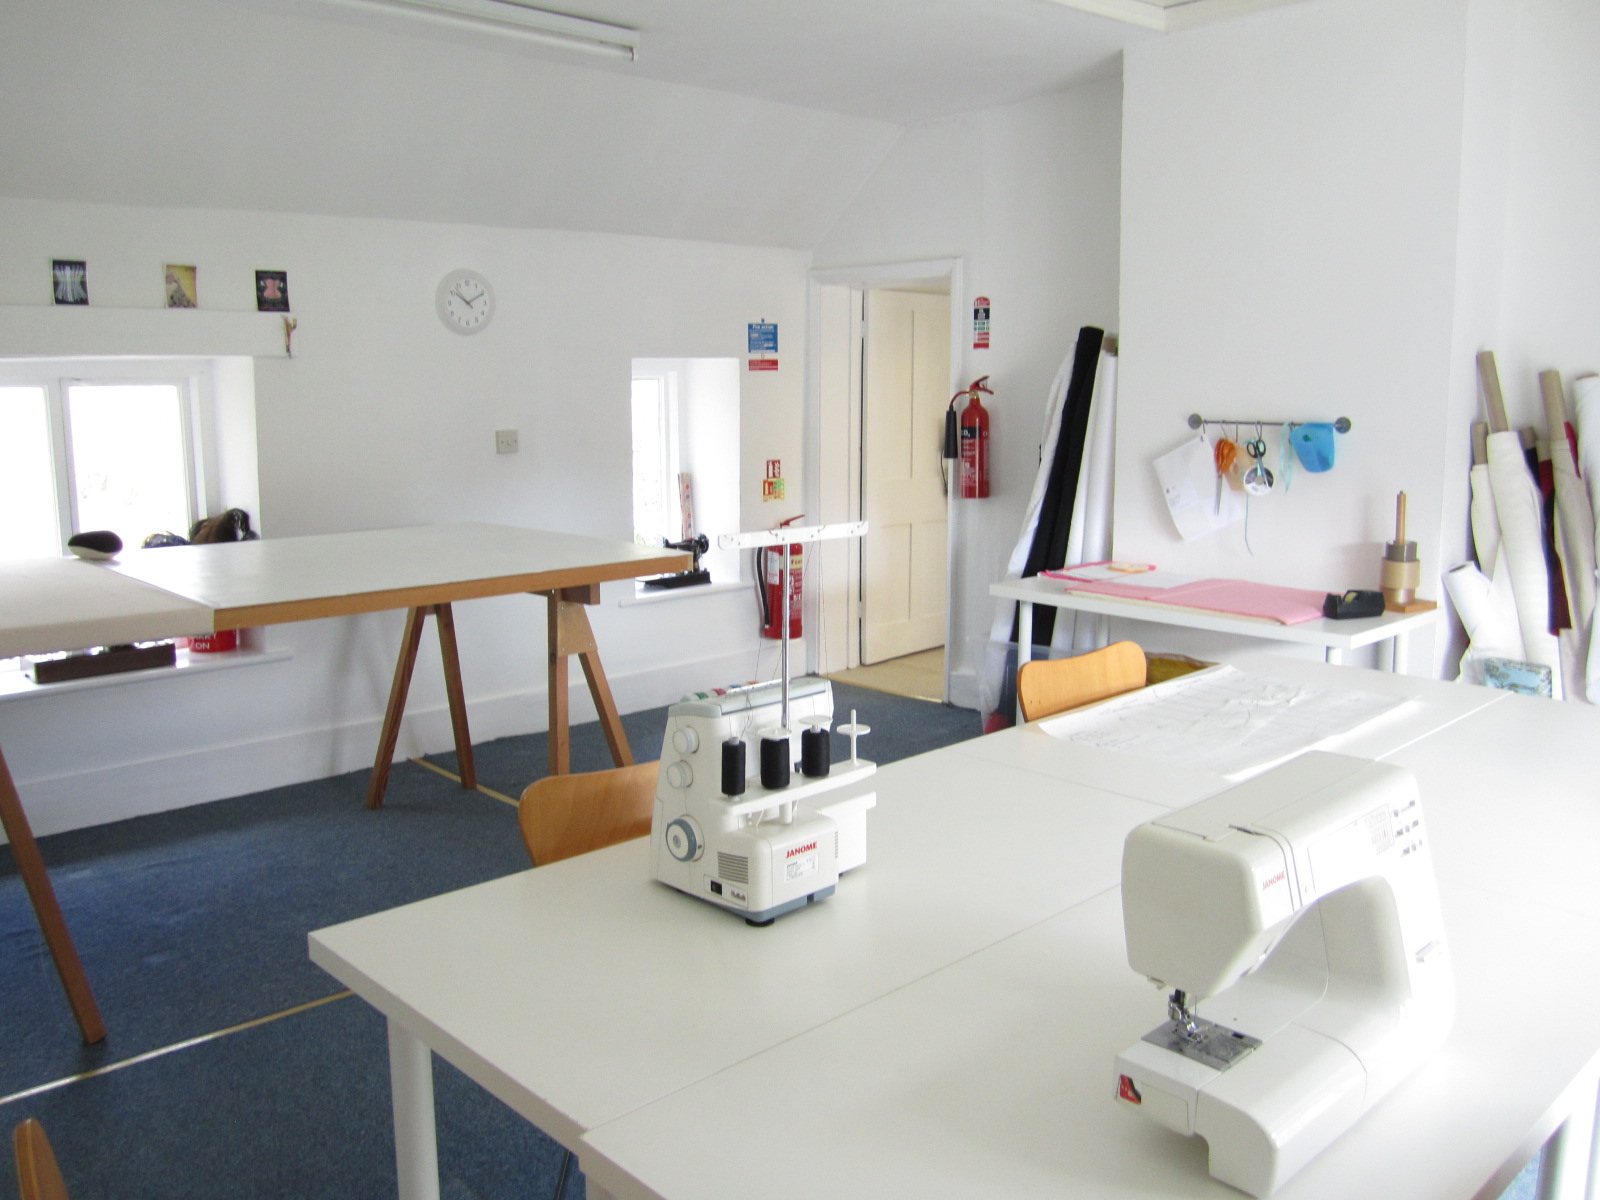
One thing which i'm working on is using my new workshop and studio to it's full advantage.  It's a shame to have such a beautiful space available and not use all of it after all!  So I am collaborating with talented corset makers, dress makers and hat makers, to bring you 'masterclasses' - one day workshops which will focus on the specialty areas of couture and millinery.  I am going to be announcing the first one this week, and the class while being taught by a corsetiere for corsetiers, would also be very interesting for dressmakers who are perhaps making something very special this year ... a wedding dress or very special occasion outfit perhaps?  Here's a little clue ..


In the meantime, I can also tell you that the lovely Charlotte Raine, of Charlotte Raine Corsetry will be teaching a workshop on how to make a burlesque feather fan at the Sew Curvy Studio on Saturday 19 May.  The workshop will start at 1.30pm, tea and cupcakes will be flowing, as will the ostrich feathers!  Go to Charlotte's web page to find out more and book a place - just click the picture!


And finally, if you would like to collaborate with me to present a Masterclass in your specialty, or if you would like to hire my workshop space which is in Oxfordshire, please do get in touch by clicking HERE.


Sunday, 15 April 2012

Spiral steel boning for dressmaking and corsetry

A while ago I wrote a post about how easy it is to use continuous spiral steel boning when making your couture style boned bodices and bombshell dresses, but I am still dismayed to see on blogs around the internet, that people are finding it hard to use and difficult to cut.

It's not hard, it's easy, and it's effortless, so please spread the word!

and if that doesn't convince you ...

Continuous spiral steel boning is much cheaper 
and more economical to use than pre-cut boning

Here's my tutorial again:

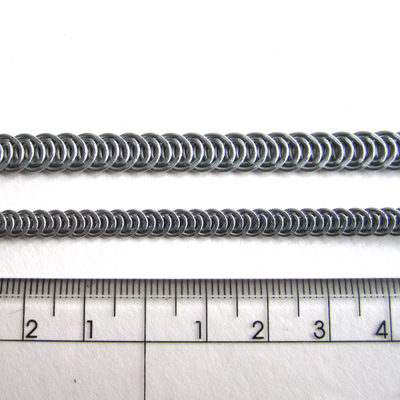
Spiral wire boning is used in corsets and in couture garments for strong boning support.  It is made of steel which has been formed into a continuous spring which has then been flattened.  Because spiral wire boning is a flattened spring, it is extremely flexible and can bend horizontally and vertically (backwards, forwards and sideways), making it perfect for boning over and around curves.

The curvy bone channel goes from side to side as well as up and over
In couture garments, it is used in conjunction with 2 layers of tulle or bobbinet which is a very fine and very strong netting material which when layered together, has no stretch but provides a fine, non bulky foundation for a gown.

a corset looks like a skeleton when held to the light
In corsetry, sprial wire boning is used in conjunction with coutil fabric and often in partnership with flat sprung steel bones which are not as flexible and therefore useful when a firmer, straighter support is required.  Both types of steel boning were invented during the Victorian age and used instead of whalebone because it was cheaper and easier.

Spiral wire boning comes in various different widths, from 4mm-15mm, and various different thicknesses making it possible to 'mix and match' your boning to achieve whichever level of support is required for any particular project.  For instance, you may only need a light 5mm wire to bone a net bodice, but you may need a more robust 7-10mm wire to bone a multi-layer corset for tightlacing.  With all boning, there is flexibility!


All types of boning, whether steel or plastic, comes either in pre-cut lengths or in continuous reels.  It is more economical and much more efficient to buy your steel in a roll and cut it yourself but many people are put off by the supposed requirement for 'brute force' with which to cut it. 

Do not fear!  

Spiral wire boning is easy peasy to cut and tip.  
Here is a tutorial to show you how.

To cut and tip spiral wire, you need a pair of wire cutters, and two pairs of pliers, one of which must have flat edges.

my flat pliers are out of shot!
To cut the boning, you need only snip either side of the wire.  When you have snipped the wire either side of the spring, it will come apart naturally.  


Trim any pokeyouty bits with your wire cutters and then apply a metal end cap and push it on so that it feels quite secure.


Now this is the fiddly part - using both pairs of pliers, you need to squish the end cap onto the wire simultaneously from either side and top and bottom.  Like this:

kindly modelled by Mr Marmalade
Now you have a tip which is compressed onto the end of your wire


BUT ... sometimes, if you make a mistake after inserting the bone into a channel and you need to pull the bone out, the cap can come off in the channel leaving you with a nasty conundrum.  To counter this, I use plumbers tape. It's cheap as chips and less messy than glue.  You just wrap a bit on the join between wire and cap, and this holds it all together perfectly and makes it all a bit smoother.  


Easy when you know how!

And if you're wondering where to buy some of this wonderful stuff ... click here:  Spiral Steel Boning


Thursday, 12 April 2012

Funky mirror tutorial

The loo in my studio was less than pleasant when I took over ... it needed a LOT of cheering up so I spent a great deal of time deciding how to do it and settled on a scheme which just makes me giggle every time I look at it.  I mean that in a nice way.  A fun, modern rockabilly look is what I was aiming for so I painted the walls with a lovely bright cream shade, made a blind inspired by my favourite morning coffee mug, in red linen with a scalloped edge and black and white polkadot binding , and teamed it up with some cheery fake flowers on the window sill and a leopard skin covered mirror on the wall.


I covered a plain pine mirror with scraps in my stash and was really really pleased with the way it turned out.  I couldn't decide how best to stick the fake fur to the mirror frame, until inspiration struck in the form of WunderUnder/Bondaweb - the fusible paper backed fabric used for applique and other sewing related things.

 I took pictures of the process incase you want to have a go yourself!


You will need:

Velboa fabric - this is a short pile smooth fake fur fabric which doesn't fray
WunderUnder fusing fabric
An untreated wooden frame - mine cost £1.89 from Ikea
Staple gun
Iron
Scissors/cutting wheel
Ruler

First of all, divide and measure the area which you need to cover - include the sides and make sure you have about 1cm overlap to the back of the mirror.  I decided to split my mirror into 4 parts and marked them accordingly.


Cut your WunderUnder fusible fabric (backed with paper on one side) to the exact size of each top section not including the sides or the back of the frame.


Cut your fabric pieces to the size of each section, plus the thickness of the frame (1cm in this case) plus a 1cm overlap at the back.


I used velboa fake fur fabric which doesn't fray so I did not have to think about tidying up raw edges - only that the edges are cut with a very sharp straight line.

'Glue' your WunderUnder to your frame with a warm-hot  iron - just as if you were fusing it to fabric - test an inconspicuous area first or do a test on a scrap of wood.  When glued,  leave the frame to cool, and then peel the protective paper off.


Carefully place your fabric onto each section of your frame, making sure all the edges meet up and are smooth and then press with the iron for 3-4 seconds on each section until the fabric is all glued down.  Leave to cool.  (Make sure you test a bit of fabric with the iron before you press your frame, so that you don't burn or melt anything!).

Fold the surplus fabric over the edges and staple along the back of the frame leaving the corners until last.


Trim the corners to reduce bulk and then staple down.


For extra decoration, or for practical purposes (my nail was too high in the wall so I had to dangle the frame) staple a ribbon to the back in a loop formation and hang!  Embellish as you see fit,  et voila!


For more pics of the studio including before's and after's, click here:  Sew Curvy Studio